Read Part 1 Single shadows and DIY palettes // Part 2 Lego makeup and tiles
Doing a bit of a different post format today. Mostly (bad) photos of the prototyping journey.
In theory, depotting eyeshadows isn’t difficult. You need something thin (I used a box cutter) to slide between the pan and the packaging to leverage the pan out. In reality, it can be quite a messy process. The pan is (I’m pretty sure) aluminium so it’s easily deformed and the shadow can crack when this happens.
I’ve only ever depot one eyeshadow palette before but that was a palette and cardboard packaging so I could slash the packaging and get underneath the pan properly without deforming the pan. From what I’ve read and watched on depotting tutorials, matte shadow formulas are more fragile than shimmer formulas so I started with the shimmer shadows first. I can confirm the shimmer shadows cracked significantly less.

First attempt. I didn’t think I’d be able to leverage it out in one go. 
The pans are stuck in the compact with some basic adhesive. 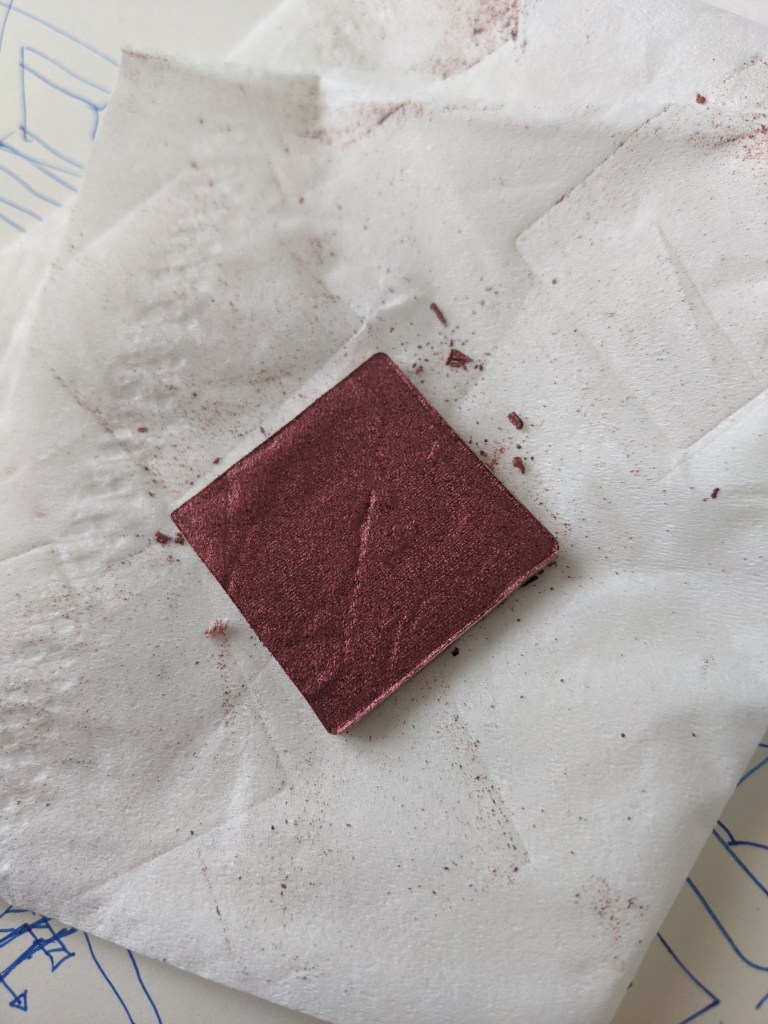
The crack didn’t go all the way through the shadow so I was able to just pressed it back together 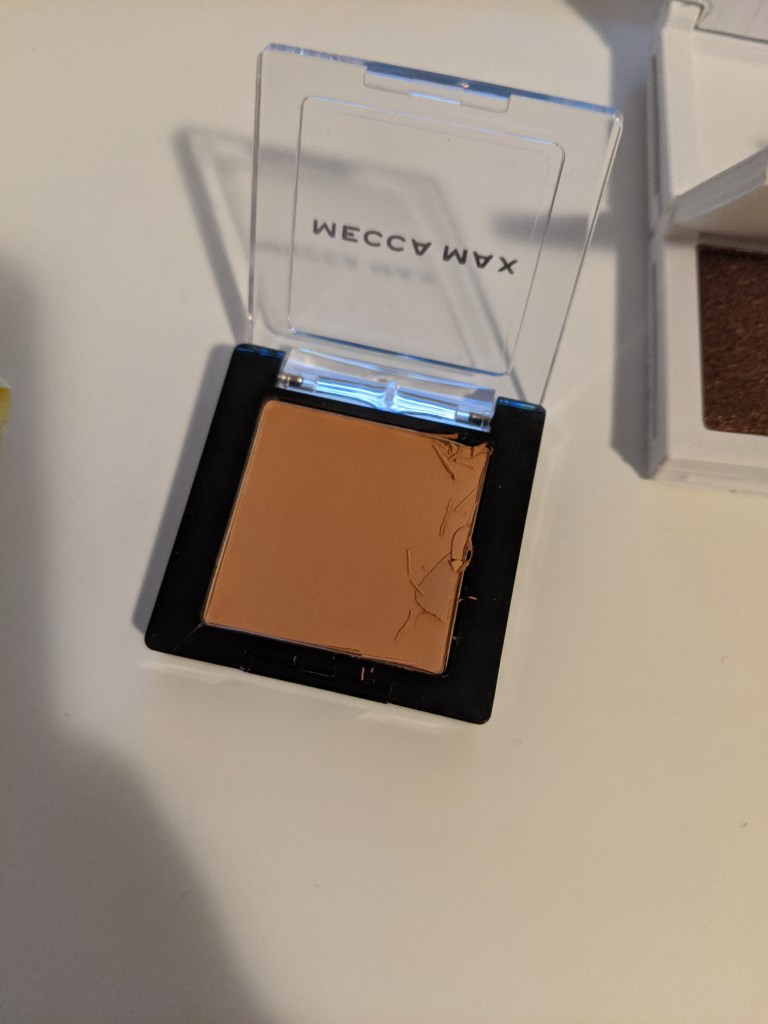
You can see how much it actually ended up shattering in the last post (Lego makeup and tiles) 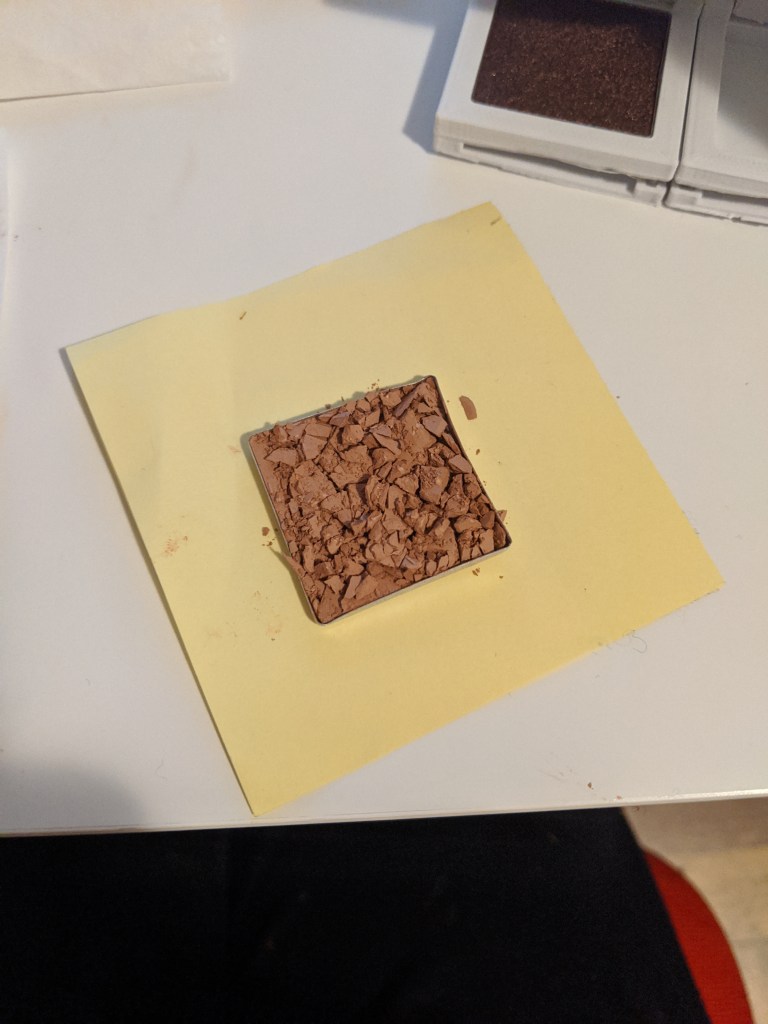
You need to break the shadow into smaller bits then mix with alcohol to create a paste to press it together again 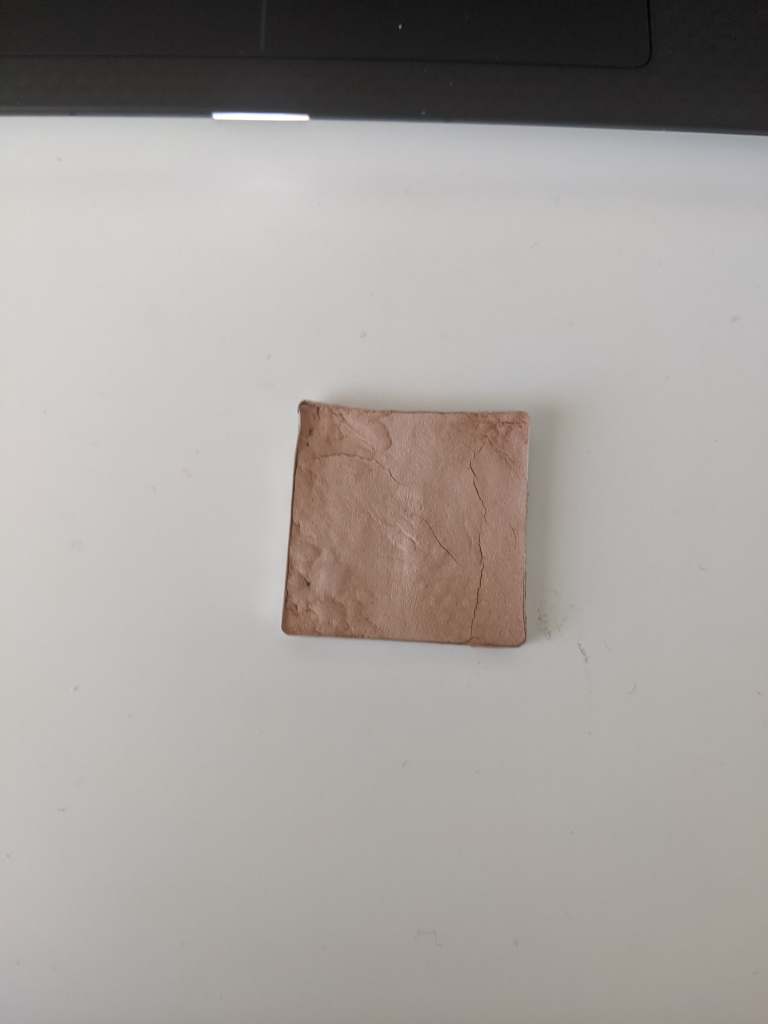
After it was (re)pressed and dried
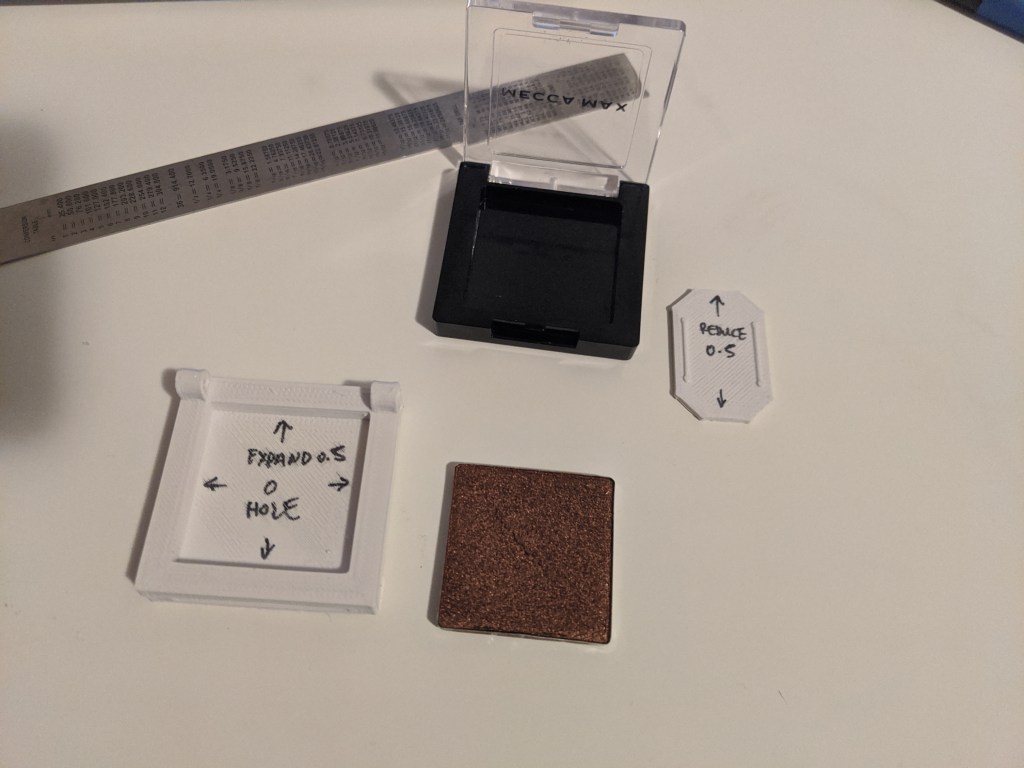
Next came measuring the shadows and finding out the tolerance of the 3D printer. For me, I usually print with the dimensions as is +/- 0.5mm and then go from there. I also lay and print the model on different sides for each iteration. This is to test the support material and which side will create the least deformity. I have a real love/hate relationship with 3D printers. On one hand, it’s useful, on the other hand, are the deformities and time worth it? (Maybe I’ll write a post about this one day.)
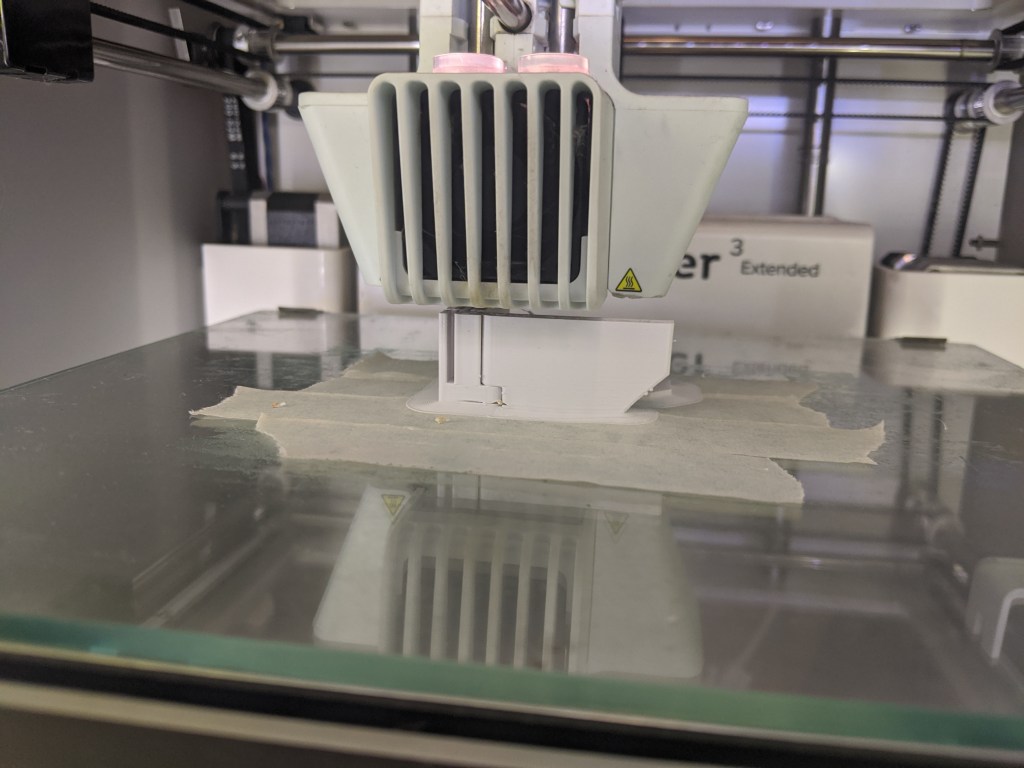
3D printer: Ultimaker 3 Extended
Material: ABS
I will endeavour to take more photos of each iteration 
From the top you’d never know it looks like this 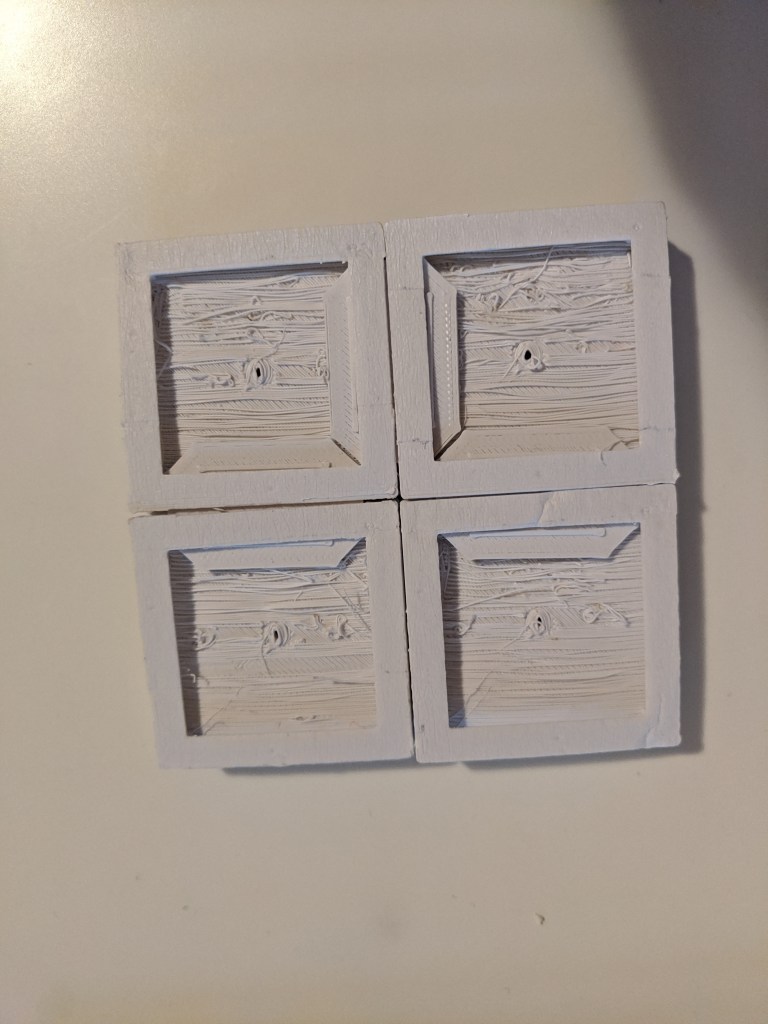
What the bottom of your 3D print actually looks like sometimes
I also finally got to experiment with printing a hinge in place. I’ve always seen these models but I’ve never had the chance to create and print a model myself.

Probably should’ve stopped the print at this point 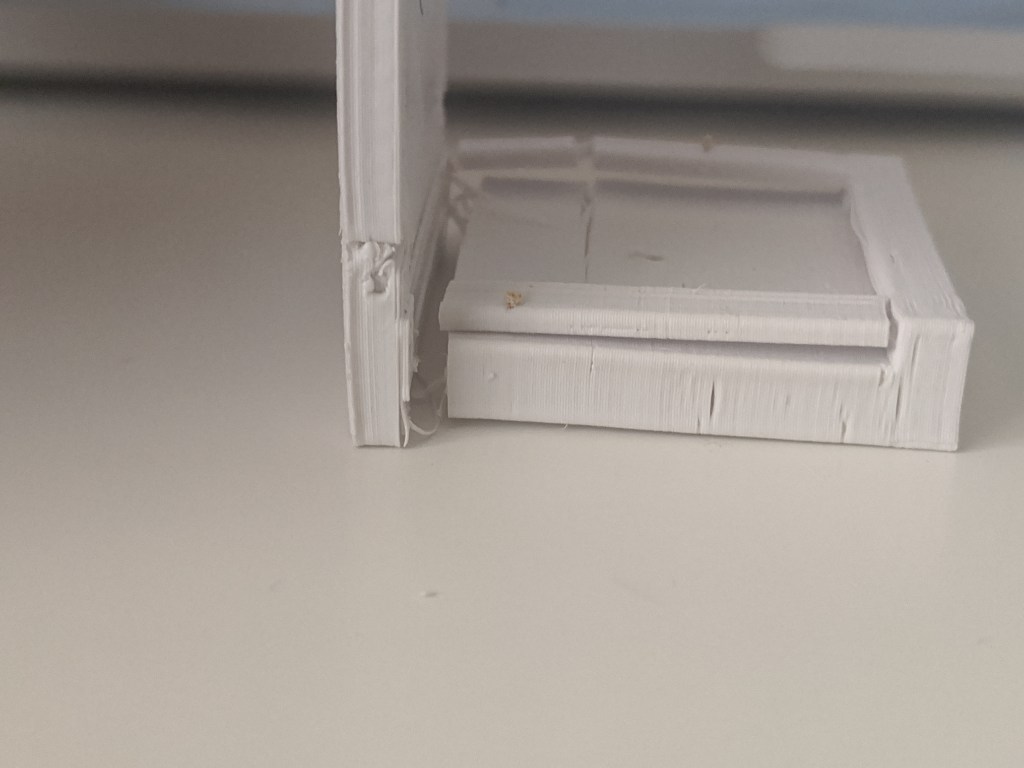
Trying to move the hinge. Total fail
Rotated the print direction so the hinge profile would be more circular 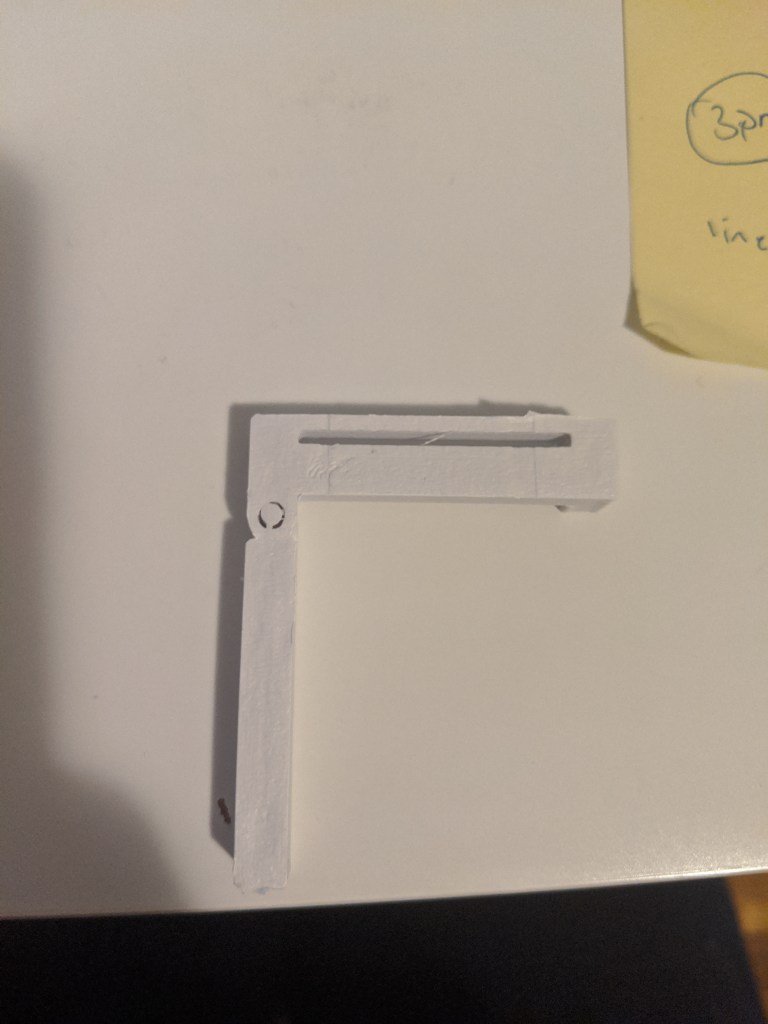
Success! 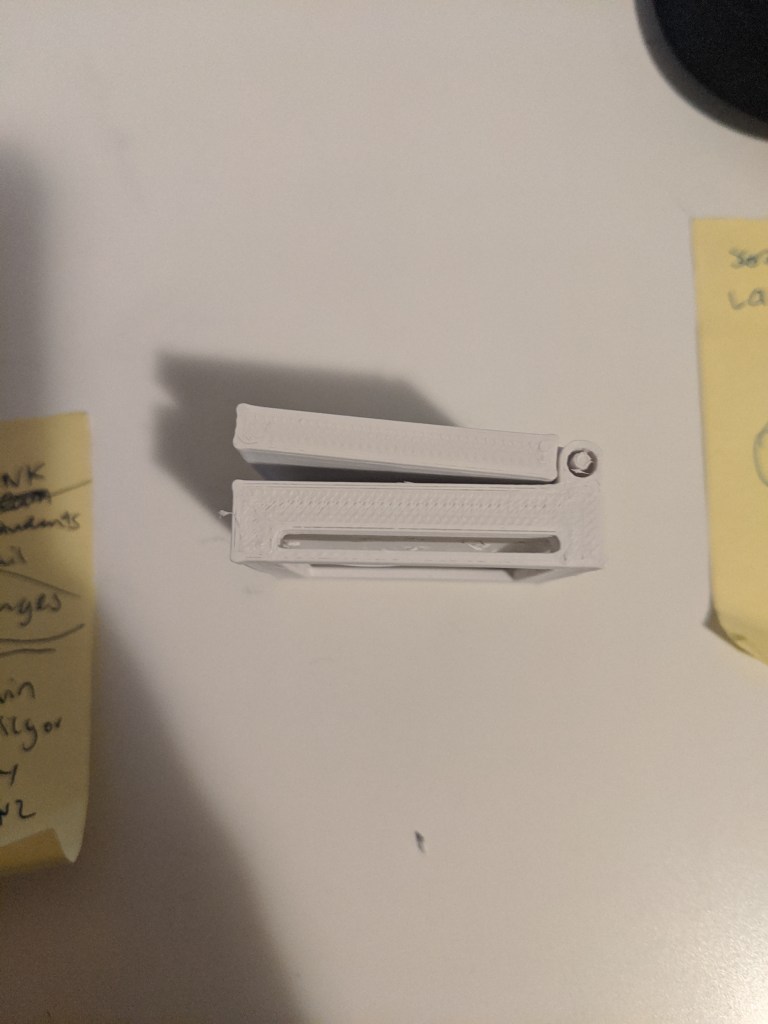
It worked, kind of
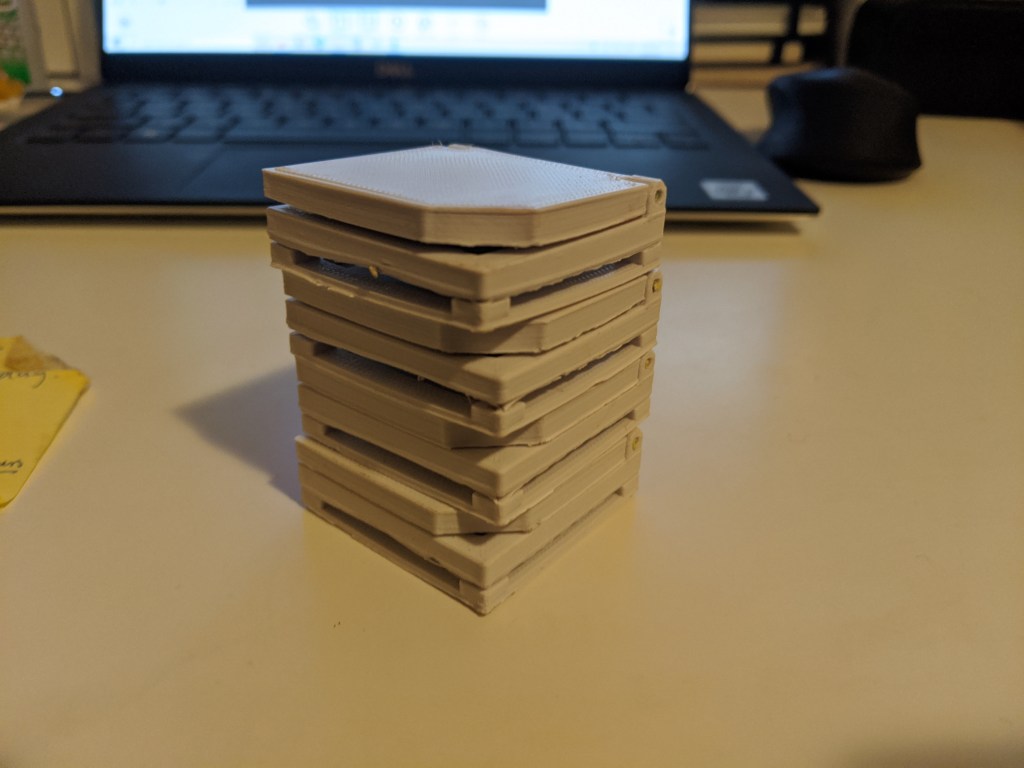
In the end I abandoned printing the hinge in place because there was more tolerance that I had to account for and the direction of print for it to be successful created a deformity that didn’t allow for the eyeshadow pan to drop in nicely.
I’m usually very bad at keeping track of the edits and different iterations so I’ve been trying to label the prototypes directly with editing notes on it. Usually I just had SolidWorks open and would edit the model directly but I know this isn’t a good method so I’m trying to change that.

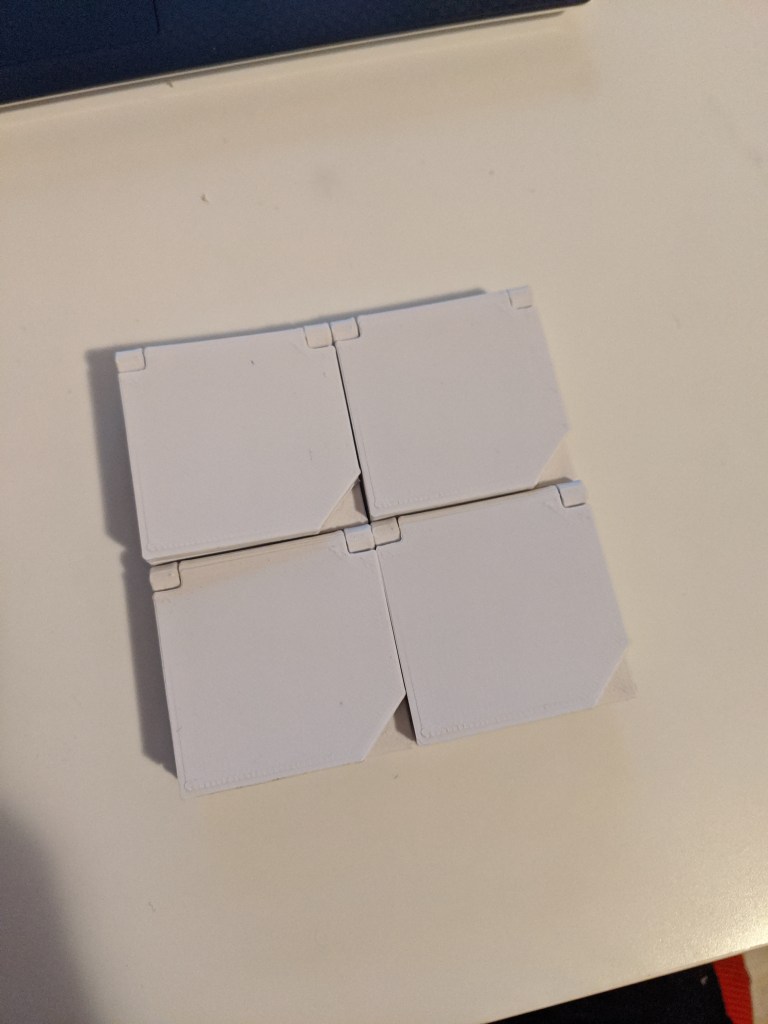
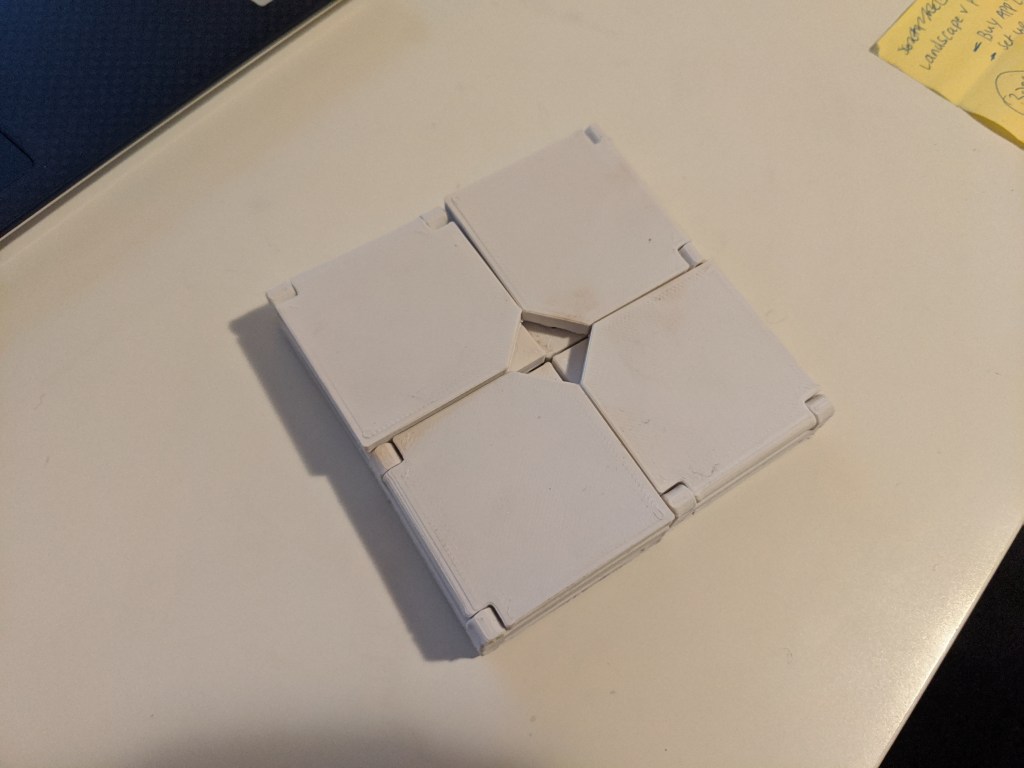
Final prototypes! The eyeshadow pans fit, the compacts slot together well and stay connected, the hinges are in place and I can configure it how I want.


Next post: product renders!
